IT4I Cloud
IT4I cloud consists of 14 nodes from the Karolina supercomputer. The cloud site is built on top of OpenStack, which is a free open standard cloud computing platform.
Note
The guide describes steps for personal projects.
Some steps may differ for large projects.
For large project, apply for resources to the Allocation Committee.
Access
To access the cloud you must be a member of an active EUROHPC project, or fall into the Access Category B, i.e. Access For Thematic HPC Resource Utilisation.
A personal OpenStack project is required. Request one by contacting [IT4I Support][12].
The dashboard is available at https://cloud.it4i.cz.
You can see quotas set for the IT4I Cloud in the Quota Limits section.
Creating First Instance
To create your first VM instance, follow the steps below:
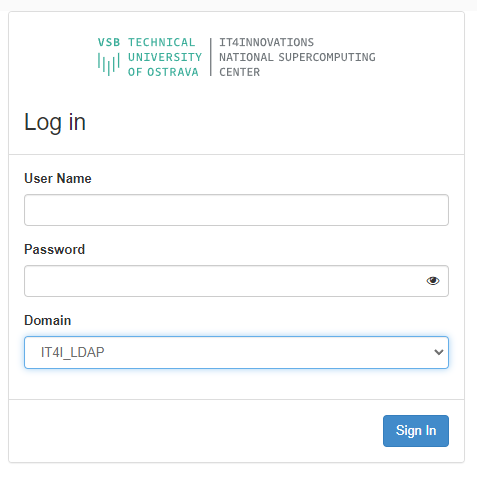
Log In
Go to https://cloud.it4i.cz, enter your LDAP username and password and choose the IT4I_LDAP domain. After you sign in, you will be redirected to the dashboard.
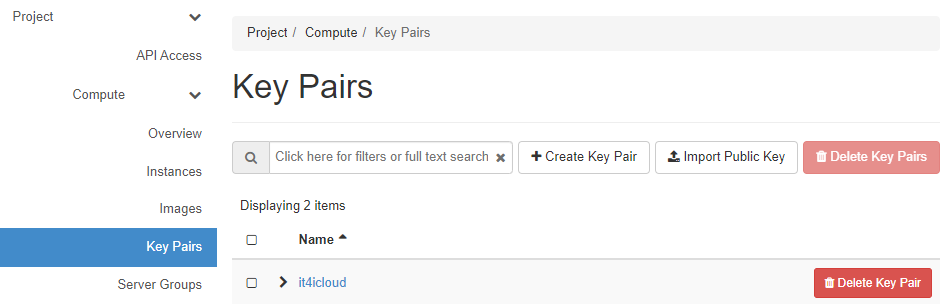
Create Key Pair
SSH key is required for remote access to your instance.
-
Go to Project > Compute > Key Pairs and click the Create Key Pair button.
-
In the Create Key Pair window, name your key pair, select
SSH Keyfor key type and confirm by clicking Create Key Pair.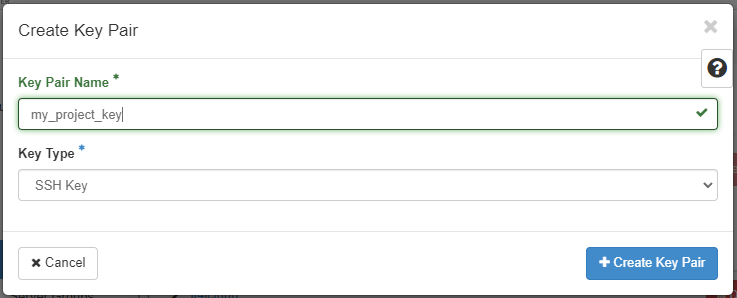
-
Download and manage the private key according to your operating system.
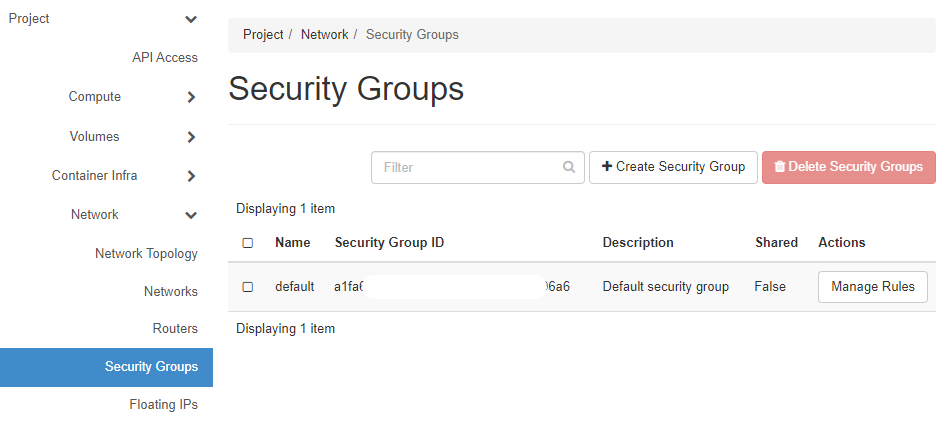
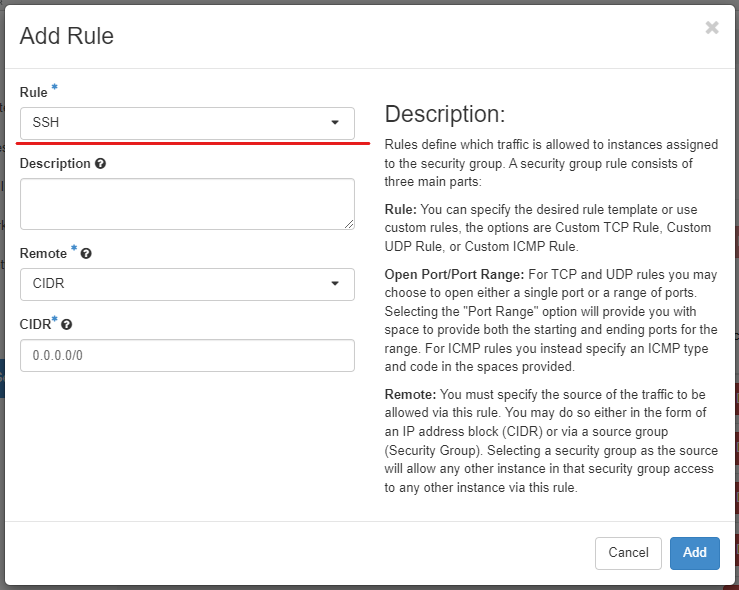
Update Security Group
To be able to remotely access your VM instance, you have to allow access in the security group.
-
Go to Project > Network > Security Groups and click on Manage Rules, for the default security group.
-
Click on Add Rule, choose SSH, and leave the remaining fields unchanged.
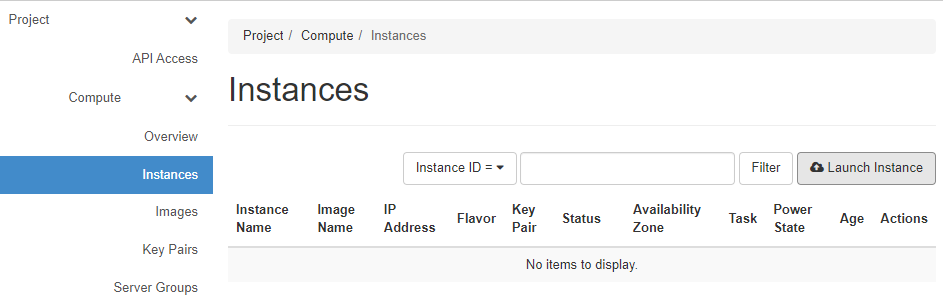
Create VM Instance
-
In Compute > Instances, click Launch Instance.
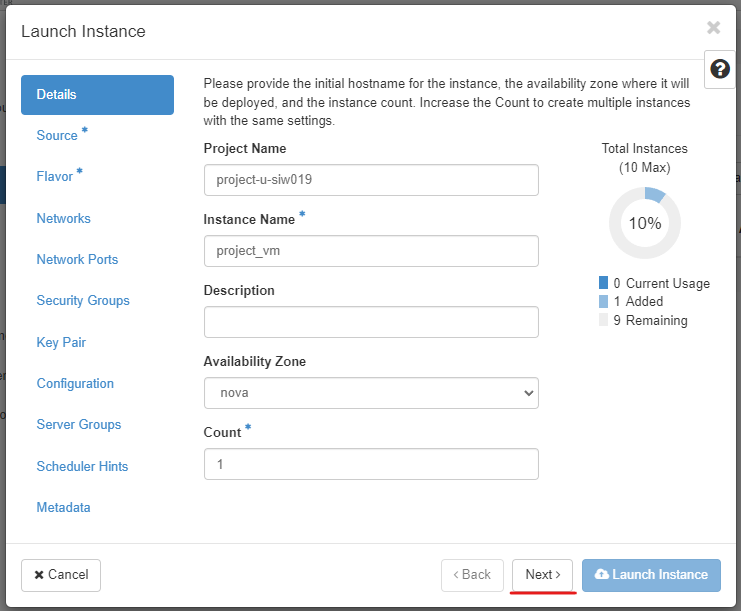
-
Choose Instance Name, Description, and number of instances. Click Next.
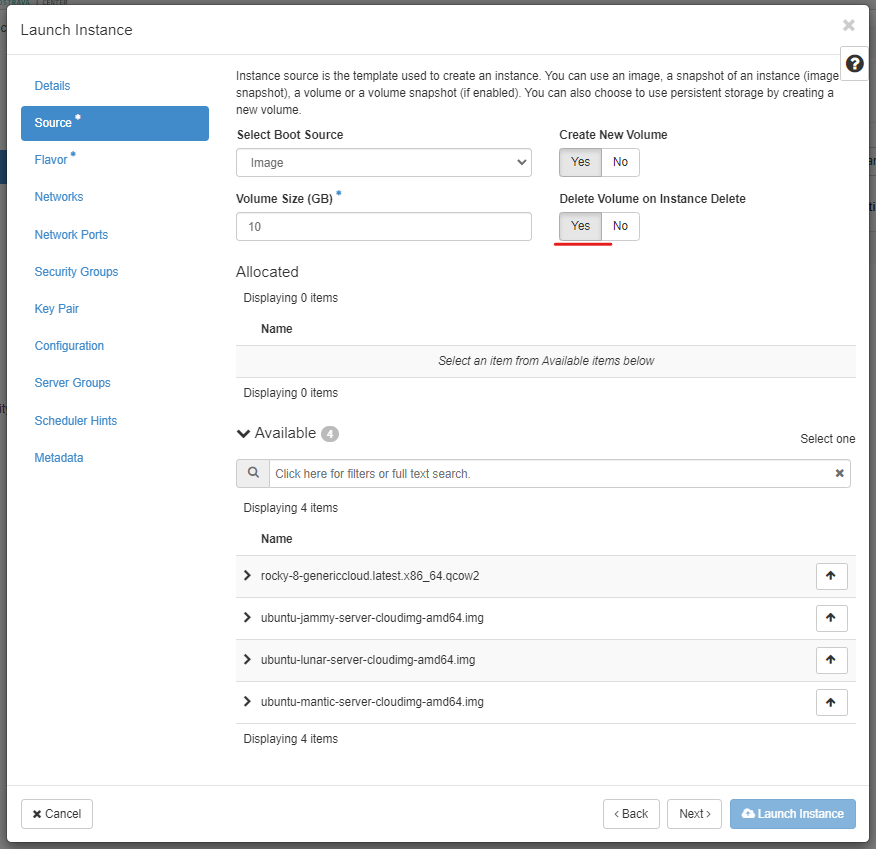
-
Choose an image from which to boot the instance. Choose to delete the volume after instance delete. Click Next.
-
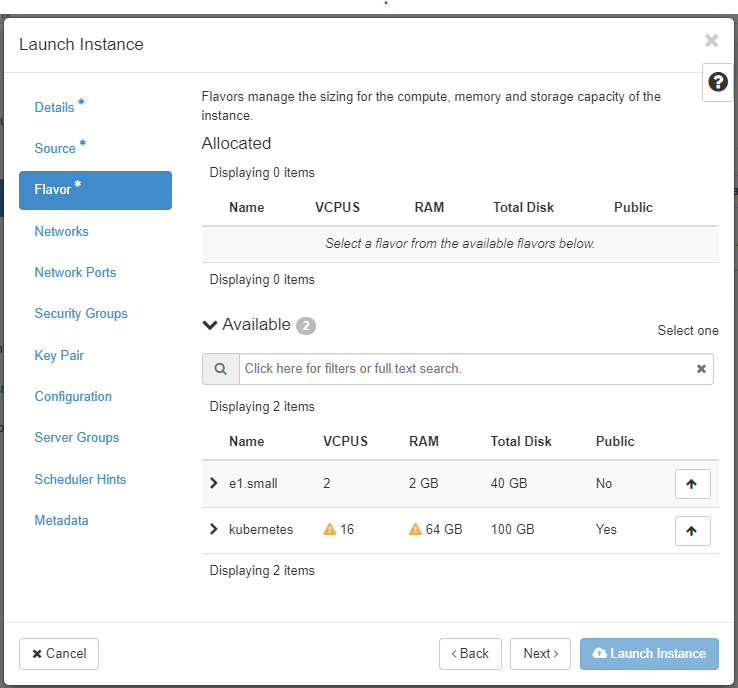
Choose the hardware resources of the instance by selecting a flavor. Additional volumes for data can be attached later on. Click Next.
-
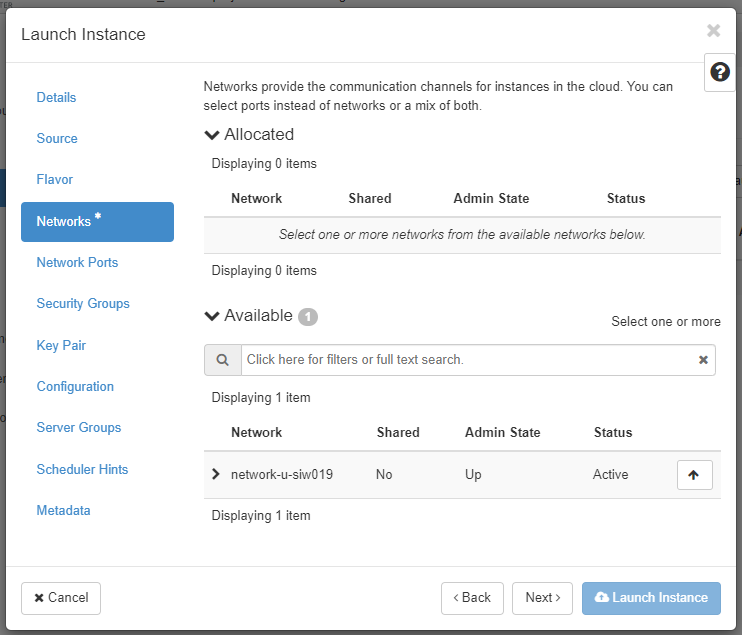
Select the network and continue to Security Groups.
-
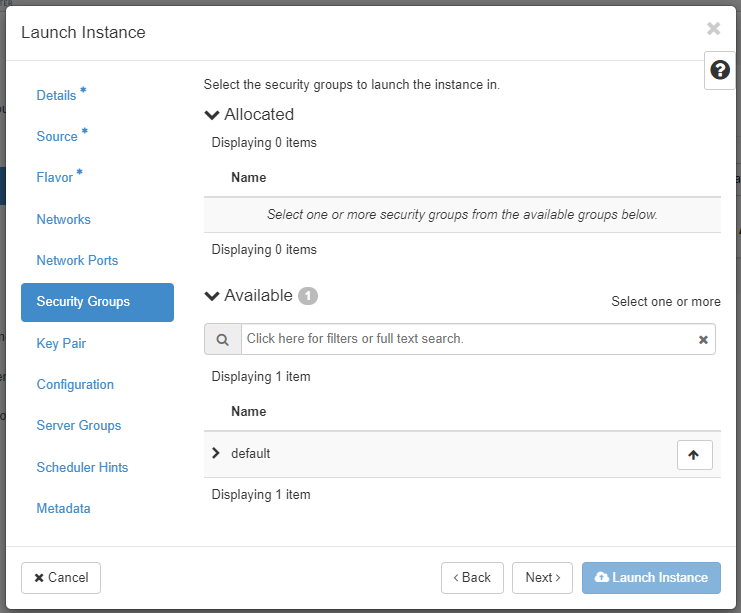
Allocate the security group with SSH rule that you added in the Update Security Group step. Then click Next to go to the Key Pair.
-
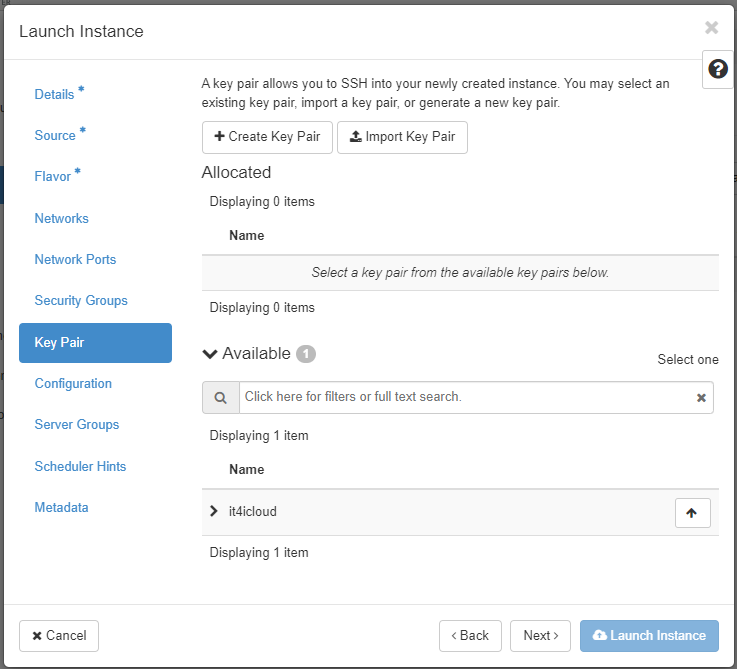
Select the key that you created in the Create Key Pair section and launch the instance.
Associate Floating IP
-
Click on the Associate button next to the floating IP.
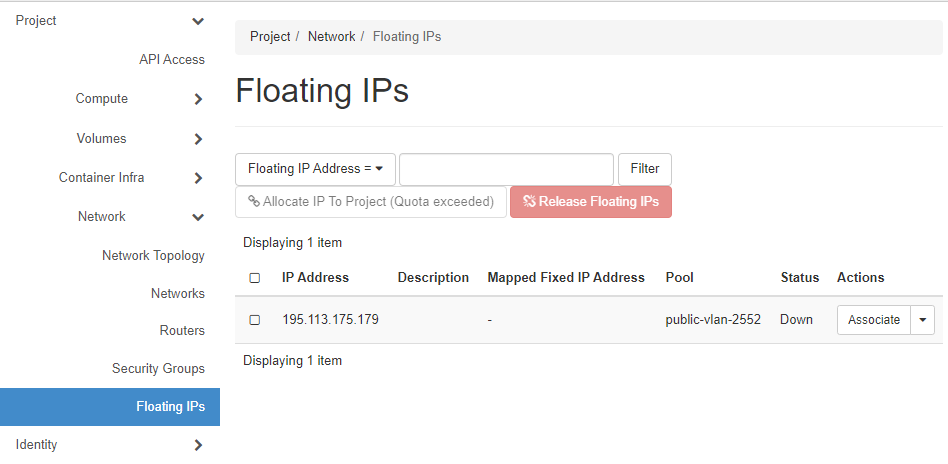
-
Select Port to be associated with the instance, then click the Associate button.
Now you can join the VM using your preferred SSH client.
Process Automatization
You can automate the process using Openstack.
OpenStack
Prerequisites:
- Linux/Mac/WSL terminal BASH shell
- installed OpenStack client
Follow the guide: https://code.it4i.cz/commandline
Run commands:
source project_openrc.sh.inc
./cmdline-demo.sh basic-infrastructure-1
[12]: mailto:support@it4i.cz @@